Showing posts with label euro. Show all posts

Thursday, 6 March 2014

Beach Search Patterns "How do you search yours?" Part 1#

Searching beaches can present a number of problems for the novice detectorist. The beach you're planning to search could be huge! Or maybe it’s covered in signs that you read about, scallops, tide marks, cuts and so on. Then again you may be on the clock. The great thing about learning about the beaches your search is that no matter what machine you use this information will stand to you for years to come.

The Quick Search.

If you are just scouting a new location or stopping by at a beach you always liked the look of. it can be more beneficial to target the more productive areas first. Areas such as the low tide mark, towel line, paths and handy seating locations. Remember even if you're only pulling up newer coins, pull tabs and other common junk targets. These finds can be very handy when you profile your new location.

Tip: always keep a small note pad and pen handy. Sketch your new beach and mark your finds and other characteristics roughly. You can review your notes later and build a new plan of action for next time.

If the location has common markers such as scallops, cuts, gravel bars and sand riffles hit these first and see what you come up with. Take note of the feel of the sand under your feet squashy soft sand normally means you're far from the hard pack and heavy gravel under the surface of the beach.

Items will sink down to the denser hard pack and rest there and your detector may not reach the entire way pass the sand overburden. This is why beach detectorist get weak in the knees after a storm has stripped the light sand from the beach exposing the hard pack and gravel.

If you’re new beach is smooth and relatively gravel free a new search pattern is required. A repeating "W" search pattern works out best.

This works well because you can cover larger portions of the beach looking for lines of targets. If you find a target halt the "W" pattern and search in a straight line for a bit. You may have found a streak of targets or a small pocket of targets. Some detectorist will search in a spiral pattern starting from the location of the first find.

Even if you are short on time during your session take five minutes to look over the beach from a vantage point. Just like your targets you should make a quick note of anything that stands out. When you head home fire up google maps and see if what you have experienced on the ground translates to patterns found on the map view.

Normal Search Patterns

On a normal day detecting on the beach I like to search left to right from the high tide mark following the tide as it heads out from the shore. Of course if you arrive on the beach and it has some nicely defined markers or it has been stripped I like to concentrate on those markers. I still follow the left to right pattern but only over these hot areas.

If you are digging targets look for changes in the sand, gravel or clay you are digging. I always find the good targets reside in the layer of dark, almost black layer of clay. This layer is below the gravel and crushed shell layer. Normally it stinks too! So you will know it forever more after that first time. This layer is so tightly packed that metals that the sea would normally devour can survive much longer.

Thursday, 21 November 2013

Targets Used For Testing

There are the targets I've set aside for air testing my detectors.


Target

Target Image

Note

1 Cent

Clean Coins
2 Cent

Clean Coins
5 Cent

Clean Coins
10 Cent

Clean Coins
20 Cent

Clean Coins
50 Cent

Clean Coins
1 Euro

Clean Coins
2 Euro

Clean Coins
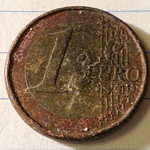
€1

Beach Find
€2
Beach Find
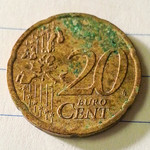
20c (Euro)

Beach Find
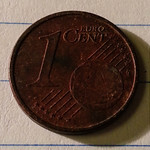
1c (Euro)

Beach Find
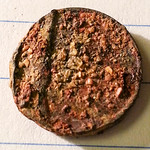
1c (Euro)

Beach Find V Worn
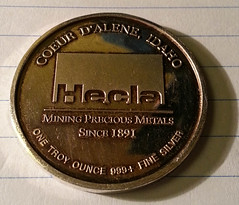
Large Silver

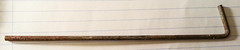
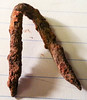
Steel Tent Peg

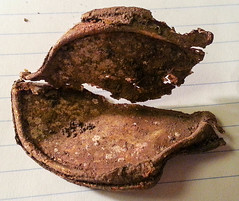
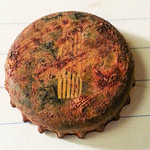
Wine Bottle Top

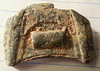
Chunk of Cast Iron

Old Pull Tab (Beavertail)

(no tail)
Junk Drinks Can

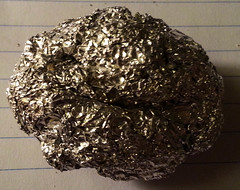
Ball of Tin Foil

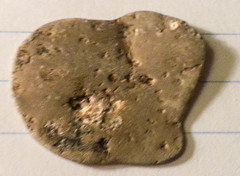
Piece of Worn Alu

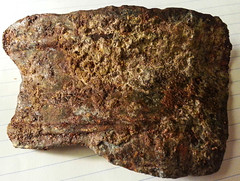
Chunk of Very Worn Iron

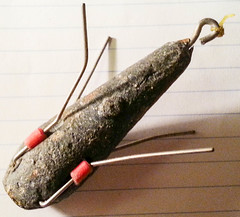
Large Lead Sinker+Steel Barbs

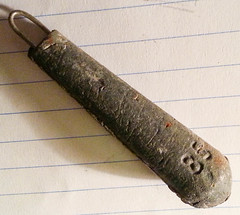
Medium Lead Sinker

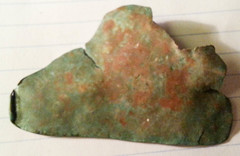
Copper Plate >.5mm

Plastic Coated Copper Wire

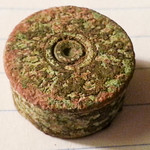
Old Shotgun Cap

Rusty Nail

Beer Bottle Top

Medium Fishing Swivel

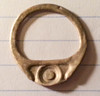
Eyelet (from Jacket or Tent)

Modern Alu Pull Tab

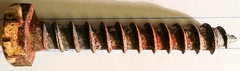
Steel Bolt

Diecast Toy Part

Fabric Covered Button

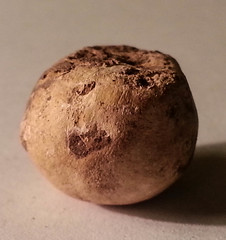
Lead Ball/Musket Ball

Belt Buckle

Wednesday, 20 November 2013

Minelab Quattro Target ID Bench Test and Review


Having recently purchased a used Minelab Quattro I was left feeling a little deflated after seeing the various reviews pointing out the units slow recovery time between targets. On top of this figuring what the target icons actually related to here in Ireland. So here is the data that I have.
All the information here is first hand. Taken in all metal mode with zero discrimination.


Minelab Quattro's recovery time. Its better than you think.

Minelabs Quattro's are considered to have very slow recovery times. While this appears to be somewhat true with regards to the preset search modes that supply the user with graphic target icons. If on the the hand the user runs the unit in "All Metal Mode" the recovery time between targets is more than acceptable and on par with other brands of machines of the same approx age. Numbers on the display are more or less the same weather using conductivity or fe detection modes. Reading stability is really good for this machine I find that some other brands can jump around like crazy example swinging over a target the display may jump between 20-21 for instance, But another machine (Garrett AT Pro International) may jump to many numbers all over its display range. Granted the Garrett AT Pro is far more sensitive to the composition, Shape and size of the target.
So the bottom line is that the Minelab Quattro is a fine machine that can be picked up for a more than reasonable price, it works well on land or along the beach so I'll be hanging on to mine for a good while to come.