Showing posts with label iron. Show all posts

Thursday, 6 March 2014

Beach Search Patterns "How do you search yours?" Part 1#

Searching beaches can present a number of problems for the novice detectorist. The beach you're planning to search could be huge! Or maybe it’s covered in signs that you read about, scallops, tide marks, cuts and so on. Then again you may be on the clock. The great thing about learning about the beaches your search is that no matter what machine you use this information will stand to you for years to come.

The Quick Search.

If you are just scouting a new location or stopping by at a beach you always liked the look of. it can be more beneficial to target the more productive areas first. Areas such as the low tide mark, towel line, paths and handy seating locations. Remember even if you're only pulling up newer coins, pull tabs and other common junk targets. These finds can be very handy when you profile your new location.

Tip: always keep a small note pad and pen handy. Sketch your new beach and mark your finds and other characteristics roughly. You can review your notes later and build a new plan of action for next time.

If the location has common markers such as scallops, cuts, gravel bars and sand riffles hit these first and see what you come up with. Take note of the feel of the sand under your feet squashy soft sand normally means you're far from the hard pack and heavy gravel under the surface of the beach.

Items will sink down to the denser hard pack and rest there and your detector may not reach the entire way pass the sand overburden. This is why beach detectorist get weak in the knees after a storm has stripped the light sand from the beach exposing the hard pack and gravel.

If you’re new beach is smooth and relatively gravel free a new search pattern is required. A repeating "W" search pattern works out best.

This works well because you can cover larger portions of the beach looking for lines of targets. If you find a target halt the "W" pattern and search in a straight line for a bit. You may have found a streak of targets or a small pocket of targets. Some detectorist will search in a spiral pattern starting from the location of the first find.

Even if you are short on time during your session take five minutes to look over the beach from a vantage point. Just like your targets you should make a quick note of anything that stands out. When you head home fire up google maps and see if what you have experienced on the ground translates to patterns found on the map view.

Normal Search Patterns

On a normal day detecting on the beach I like to search left to right from the high tide mark following the tide as it heads out from the shore. Of course if you arrive on the beach and it has some nicely defined markers or it has been stripped I like to concentrate on those markers. I still follow the left to right pattern but only over these hot areas.

If you are digging targets look for changes in the sand, gravel or clay you are digging. I always find the good targets reside in the layer of dark, almost black layer of clay. This layer is below the gravel and crushed shell layer. Normally it stinks too! So you will know it forever more after that first time. This layer is so tightly packed that metals that the sea would normally devour can survive much longer.

Wednesday, 5 March 2014

Garrett AT Pro International Tones and Their Meaning


Having had the time to put some hours on the Garrett AT Pro International over a few months I've come to the conclusion that all detectors should come with a library of short audio clips to help new users to train their ears at home. Yes I know there are plenty of instructional video clips on youtube. But most of these videos have an audio stream that is out of sync with the video itself. Also many detectorists shoot videos that are far to dependent on the visual identification display on the detector itself. Im pretty sure that I'm not alone in saying that my hearing ability is far faster at processing the feedback from the machine then keeping my eyes glued to the detectors display looking at numbers that are displayed in a delayed fashion. In other words you hear the audio signal first and shortly after the display is updated. Yes the display is updated within milli seconds but I find this is enough to get on my nerves!

Anyway back to the topic of this post. The short audio clips below are examples of the feedback you get from your Garrett AT Pro International. I have used these to help me understand the makeup of the ground i am covering without the need to keep looking at the VID display. Also even though Garrett have a standard mode they recommend to new users I'd say just skip this mode and head straight into Pro Audio and learn from there.

I have included the STD audio clips just for reference.

So I hope someone might find these useful enjoy.

Garrett AT Pro International Pro Audio Mode


Garrett AT Pro International High Tone Pro Audio Mode


Garrett AT Pro International Iron Audio Bottle Top Sample Pro Audio Mode


Garrett AT Pro International Iron Audio Coin Sample Pro Audio Mode.


Garrett AT Pro International low Tone Pro Audio Mode


Garrett AT Pro International Medium Tone Pro Audio Mode.mp3


Garrett AT Pro International Proportional Audio


Garrett AT Pro International Tone Roll Audio Demo Pro Mode Bottle Cap Tone Roll Example


Garrett AT Pro International Standard Audio Mode


Garrett AT Pro International Tone Roll Audio Demo STD Mode Bottle Cap


Garrett AT Pro International Tone Roll Audio Demo STD Mode US Nickel


Garrett AT Pro International Tones High Tone STD Mode


Garrett AT Pro International Tones Low Tone STD Mode


Garrett AT Pro International Tones Medium Tone STD Mode.


Tuesday, 4 March 2014

Mini High Banker


This small High-Banker is relatively easy to build. I was able to bend all the pieces using some scrap steel angle-bar stock as bending guides in my bench vise. I used a rubber hammer to "refine" the edges. If you have access to a brake (sheet metal bending tool) so much the better. The thinner the aluminum stock, the lighter the completed unit will be. A definite advantage if you plan to pack it into the back country.
Some of the pieces are welded together using Flux less Aluminum Repair Rod. I found this rod very easy to use after just a few practice tries on scrap aluminum. You don't need sophisticated aluminum welding equipment, all you need is a propane torch.


1.) Start out by cutting sheet aluminum pieces 1,2,3,4,6,7,8,9,11 and 12 to plan dimensions. Note: the sheet aluminum thickness is not critical. It all depends on how rugged and heavy you wish to make your mini-banker. Slight adjustments to fit may be necessary when you bend the pieces. PC8 & 9 should be at approx 1/8" thick aluminum or steel.
2.) Lay out and drill 7/16" holes in PC2. Make sure the holes along the bend are as close as possible to the line. This reduces water loss over the end of the box. An alternate method would be to cut out this section and weld in a piece of expanded metal as a classifier.
4.) Drill 5/32" holes as indicated in PC7, 8, and 11. Drill a 5/8" in PC2
5.) Cut PC5 to plan dimensions. PC5 is floorboard matting from old Volkswagen Vans. It has a checkerboard square pattern that works very well for trapping the coarse gold. To give it some rigidity, glue the smooth side to PC4.
6.) Cut PC10 to plan dimension. PC10 is expanded metal screen.
7.) Mark pieces 1, 3, and bend 90 degrees.
8.) Bend the sides of PC2, 90 degrees, making sure the finished piece will fit inside PC1.
9.) Bend sides of PC6, 90 degrees (make sure it is slightly smaller than the inside width of PC2 so the weld will not interfere with the fit inside PC1). Bend the end tab in line with the hypotenuse of the sides.
10.) Weld the gravel guide trough (PC6) on the bottom of the Loader Box (PC2). Make sure the end of the trough is approximately 13/4" back from the end of the box. This allows room for the classified gravel to pass between the trough and the gravel stop (PC12).
11.) Weld the gravel stop (PC12) to the end of the sluice box (PC1).
12.) Fit PC3 on the end of PC1, drill four holes for #6/32 sheet metal screws. Install screws.
13.) Lay the two PC8's inside the sides of the sluice box. Trim the three PC9's to fit between the two PC8's. After you have a good fit, remove from the box and weld PC8 at each end and one in the center. This forms the riffle bar frame.
14.) Place the PC4-5 assembly in the sluice box firmly against the gravel stop, then butt the end of the miners moss at the end of PC4-5 assembly. Place the riffle assembly on top of the miners moss and drill two 1/4" pivot holes through the side of the sluice box and riffle assembly. Install 1/4" x 20 nuts and bolts. The riffle assembly should be installed so that it compresses the miners moss against the bottom of the box.
15.) Round the ends of PC11, place in the box as shown in the assembly drawing. Be sure it compresses the riffle assembly when you drill for the pivot bolts.
16.) Position PC2 inside PC1 as shown in the assembly drawing, mark and drill holes for 1/4" x 20 bolts. Install nuts and bolts so the two boxes can pivot freely. Note: the end of PC2 must overhang PC1 at least 1/2" so the larger classified gravel won't drop into the sluice box.
17.) Drill and install the braces (PC7) using 10-32 bolts. Drill extra holes about an inch apart in line with the first hole so the box can be set at different angles to suit varying field conditions.
18.) Assemble the spray bar and install using 6-32 machine screws.
The mini-banker will work well with a flow of water as low as 5 GPM since no riffles are used . The low flow is even desirable because it allows the very fine gold to drop into the miners moss. There are many gas and electric pumps on the market which are small and lightweight. The disadvantage of electric pumps is you need to drag a heavy battery around. My preference is one of those small 2 cycle gas pumps that weigh in at about 6 to 8 pounds. In addition you could add legs and/or build a 20 to 30 gallon container to use as a recirculating water setup. I'll provide plans in a future issue of several different modifications for the "tinkerers" to try.

Copyright © Jerry Bowen, Jan 10, 1994

Thursday, 21 November 2013

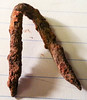
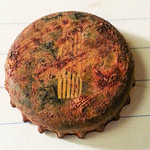
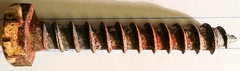
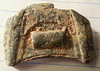
Targets Used For Testing

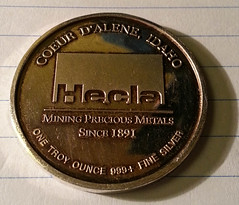
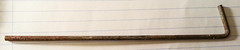
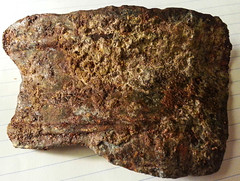
There are the targets I've set aside for air testing my detectors.


Target

Target Image

Note

1 Cent

Clean Coins
2 Cent

Clean Coins
5 Cent

Clean Coins
10 Cent

Clean Coins
20 Cent

Clean Coins
50 Cent

Clean Coins
1 Euro

Clean Coins
2 Euro

Clean Coins
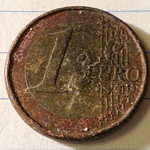
€1

Beach Find
€2
Beach Find
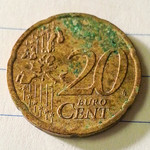
20c (Euro)

Beach Find
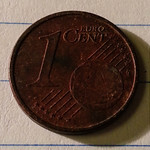
1c (Euro)

Beach Find
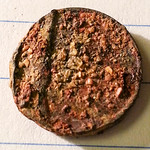
1c (Euro)

Beach Find V Worn
Large Silver

Steel Tent Peg

Wine Bottle Top

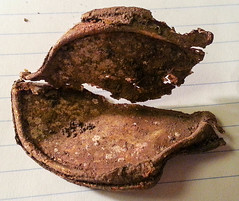
Chunk of Cast Iron

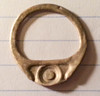
Old Pull Tab (Beavertail)

(no tail)
Junk Drinks Can

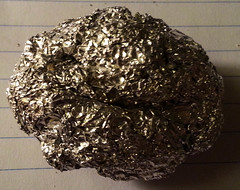
Ball of Tin Foil

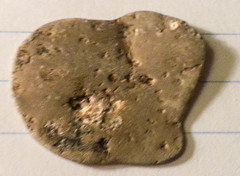
Piece of Worn Alu

Chunk of Very Worn Iron

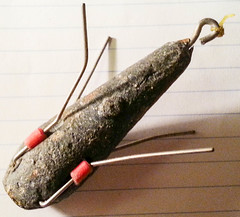
Large Lead Sinker+Steel Barbs

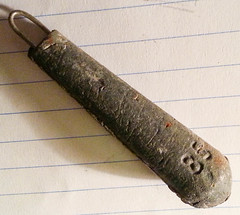
Medium Lead Sinker

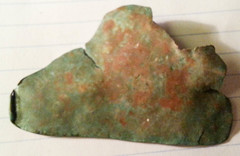
Copper Plate >.5mm

Plastic Coated Copper Wire

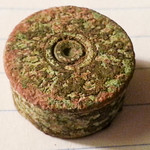
Old Shotgun Cap

Rusty Nail

Beer Bottle Top

Medium Fishing Swivel

Eyelet (from Jacket or Tent)

Modern Alu Pull Tab

Steel Bolt

Diecast Toy Part

Fabric Covered Button

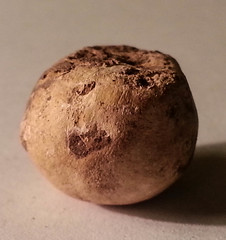
Lead Ball/Musket Ball

Belt Buckle